
Choose the takeoff before reaching it
To improve jump timing in SKI, pick the landing space first, settle your approach, and press jump once at a point you can recognize. Begin without a trick. Once you can repeat the plain jump, change the takeoff point slightly and compare the complete result.
It is easy to use jump as an emergency response when an obstacle is already on top of you. That leaves no time to decide where the skier should land. Turn the jump into a planned part of the route: approach, takeoff, landing, exit.
This guide gives you a practice method rather than a universal timing threshold. A takeoff that works in one section is not a fixed number of seconds for every mountain, approach, or device.
Start with the right jump input
The official game page lists Space for keyboard jumping and A for controller jumping. Mobile gameplay shows a touch jump button. Use the visible button in your current mobile layout.
| Device | Plain jump input | Keep separate during the first drill |
|---|---|---|
| Keyboard | Space | Directional double-taps and Q/E trick inputs |
| Controller | A | D-pad and X trick inputs |
| Mobile | Visible touch jump button | Right-side swipes and hold/double-tap jump trick gestures |
On mobile, a simple jump and a trick gesture use related controls. Begin with an ordinary press rather than adding a hold or double-tap. Check what the live prompt shows if the layout changes after an update.
Keep your camera and steering setup familiar. If you are still searching for the jump button, do a control check before trying a difficult approach. The mobile controls guide explains how to keep movement, camera gestures, and trick gestures separate.
Pick one visible takeoff reference
Choose a section where you can see both the approach and the landing. Use a visible feature near the takeoff as a personal reference, such as the end of an open stretch. It is a reminder for your practice, not an official jump marker.
On the first attempt, make a plain jump and watch the result. Ask whether you reached the intended landing space and whether you could continue afterward. Do not judge the timing only by whether the skier left the snow.
For the next attempt, change one thing: jump a little earlier or a little later relative to that same feature. Keep the approach line and input setup as similar as possible. If you also change route, camera, and trick input, the result cannot tell you which adjustment helped.
Diagnose the whole jump
Use the outcome to choose the next test. These are practical observations, not names of hidden game states.
| What happened | What to inspect before repeating |
|---|---|
| You pressed after the obstacle forced a reaction | Choose your reference earlier in the approach |
| The jump happened, but the landing was unclear | Pick the landing target before choosing timing |
| The landing worked, then the next turn failed | Include the exit direction in the plan |
| A trick interrupted a previously clean jump | Return to the plain jump to check the baseline |
If the plain jump is unreliable, keep practicing the approach, takeoff, and landing together. A more complicated trick input adds another variable without fixing the approach you have not yet learned.
Build a short repeatable drill
Try three plain attempts on the same recognizable section. Three is a suggested practice count, not an in-game objective. Use the same takeoff reference, then note how each landing and exit went.
- Read the landing and next turn before the approach.
- Hold your chosen line toward the takeoff reference.
- Press the device’s jump input once.
- Watch the landing and continue through the exit.
- Compare the result before changing the next attempt.
When the section changes or you join a different mountain, choose a fresh reference. The earlier drill helps you compare timing. It does not give you one takeoff location that works everywhere.
For the final part of the jump, read how to land jumps. If you are struggling to identify landing space at all, return to reading the course.
Add one trick after the plain jump works
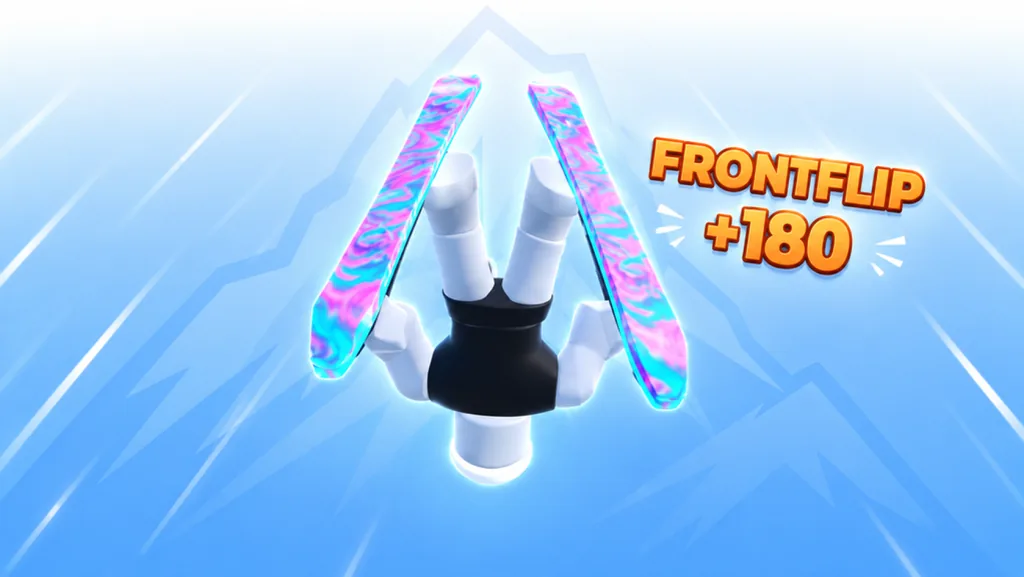
Once you can repeat the takeoff and landing, add one trick input on your device and observe what changes. Keep the same route so you can compare the action with the plain jump you already know.
Do not infer a named rotation from a directional input without checking it in your current session. The official list supplies input families, but it does not give a complete trick-to-key table. Learn the action your chosen input produces, then practice the landing before adding another action.
Your immediate goal is a jump you can explain and repeat. A clean attempt with a takeoff point you know makes it easier to learn tricks. Several unplanned button presses in the air leave you less to work with.
FAQ
Which key makes me jump in SKI?
Use Space on keyboard. The official controller input is A, while mobile uses the visible touch jump button in your session.
Is there one exact jump timing for every slope?
Choose timing for the section you are practicing. Compare a recognizable takeoff point on the same course instead of applying a fixed delay everywhere.
Should I learn jumps with tricks enabled immediately?
Begin with a plain jump. Add one trick only after you can repeat the approach, takeoff, landing, and exit.
What should I change after a failed jump?
Inspect the approach and landing, then adjust one part of the attempt. Moving the takeoff point is useful only when you keep the rest of the comparison stable.
How do I know the timing is usable?
Repeat the jump and check that you can reach the intended landing space and continue into the next section. Leaving the ground alone is not the full test.